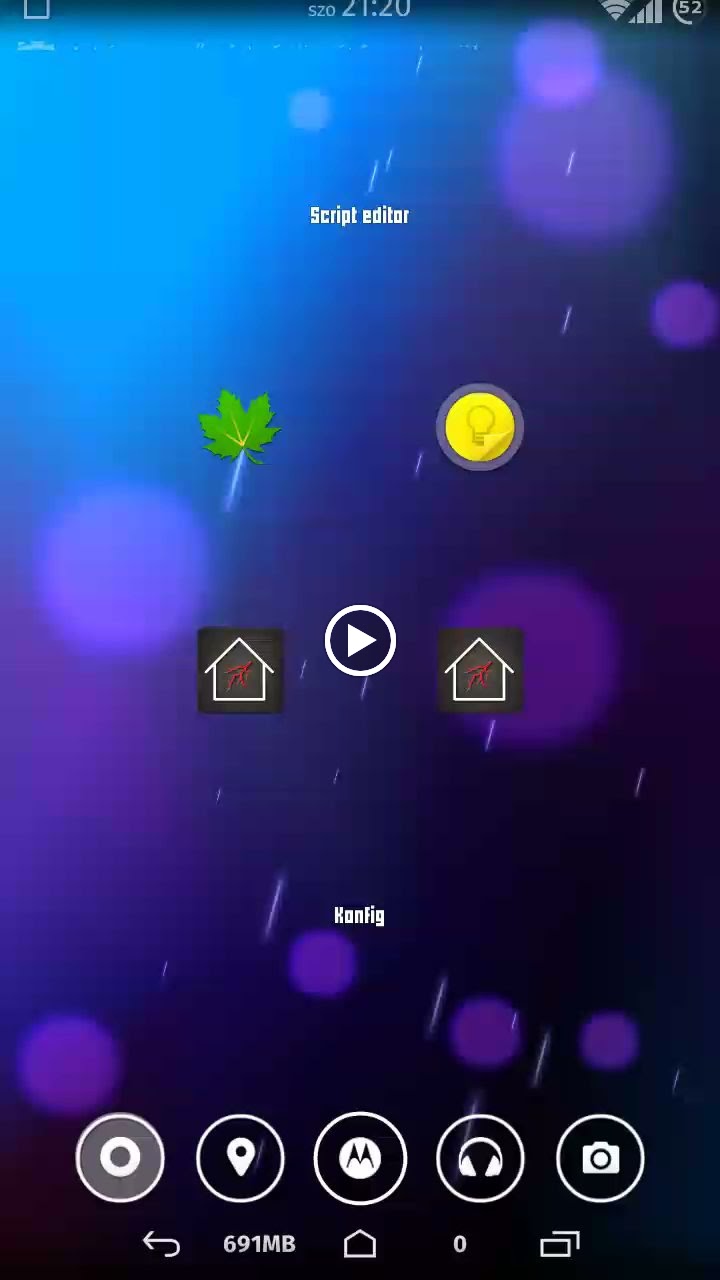
I was a little bit dissatisfied how current selection effects are limited, so I made my own one.
Posted by: pierrot | on June 28, 2014

I was a little bit dissatisfied how current selection effects are limited, so I made my own one.
The basic idea was to make specific items animate and behave as the the touch effect.
There are some problems, for example the animation needs to be played entirely to the end before launching the item, because in that moment the animation / script stops, and it will be frozen all until the launched application appears. (Somewhat visible on the video, due to the timing not being exact)
In this example video I used two items, which are rotating and scaling when an item is touched. They need to be made by hand, and they need to be off grid.
The items used for the effect are specified at the end of the script. You can use any number of them, modify the script to your needs. Change parameters, etc.
You will want to set the script to the click action of (app) shortcuts. Also it works even when called from other scripts, in this case the caller item (which around you want the effect to appear) needs to be passed by putting it into “self.i” (I don’t know whether there is a better solution than this for passing objects between scripts)
Script is here: http://pastie.org/9335805
]]>Posted in | 4 Comments »
Tags:
 D5 Creation
< ![CDATA[
How do you use this? I know how to run a script on click but I don’t know Javascript very well so I’m not sure how to modify this script to use it.
]]>
< ![CDATA[
If you create the two item with labels “Selektion”, and “Selektion2”, and set them off the grid, then the script will work just like on the video, without modification.
If you look through the script there is a part where I explain what the parameters for the animation means.
So for example in the line before the last there is this call, this corresponds for the white rectangle thingy in the video:
touchEffekt(‘Selektion’,20,300,1.8,1.1,60,function(){ if(exe) c.launch(); });
touchEffekt is the function that does all the things. Next are the parameters, in this order: item label, animation steps, animation duration in ms, starting scale, “speed” of the scale animation, how much to rotate. You can experiment with these as you like. The last one is the command to launch when the animation ends. We need this for only one of the animated items (the first), you can see that in the last line, which corresponds to the blue rectangle thingy this is missing.
If you only want one animated thingy, then remove the last line, if you want more than two, then copy it, and modify accordingly.
]]>
< ![CDATA[
Pretty damn snazzy, nice work.
]]>
< ![CDATA[
Cool!
]]>